Ipinapakita ang mga post na may etiketa na Painting. Ipakita ang lahat ng mga post

Sabado, Oktubre 8, 2016

Model Kit Building And Painting Tips And Tricks


Our staff here at Chinook & Hobby West have noticed many of the same questions from our beginner level model builders. We have done some research and pooled our own knowledge to share some tips and tricks to help you along your hobby adventure.

Please leave a comment below and let us know your tips, ideas or if this article helped you.
Enjoy and Happy Hobbying!


Building a Model
  1. You need a designated space such as a large table with good lighting.
  2. Read through the instructions a couple of times before you start.
  3. Cut, don't snap off, individual parts from the plastic sprues.
  4. Compare the parts included, to the list of parts in the instructions.
  5. Smooth the edges of parts using a sanding stick or file to remove nubs and excess plastic resulting from manufacturing, then wash them in a mild detergent and allow to dry. Make sure to use gentle pressure when sanding so you don't take too much off.
  6. Collect your tools.
  7. Follow the parts assembly sequence exactly. Be patient and don't jump ahead.
Extra Tips
-Use the minimum amount of glue necessary to make a solid bond. 
-Enhance your assembled model by filling in gaps with putty and carefully sanding the filled surface.

Come down and see us at Chinook & Hobby West or email us if you have any questions.

Painting Your Model
  1. Do some research if you're building a replica. Every era has incorporated its own style. A replica of a Cadillac painted pink would not be an accurate model of the original car but may be your vision of your dream car.
  2. If you can, find a modeler's club and learn hands-on tips from more experienced modelers. There are some great online forums on the internet.
  3. Plan your paint scheme if you're doing your own design. Write down the colours you're thinking about so you don't forget that vision.
  4. Work on a clean surface.
  5. Clean your model. Use rubbing alcohol or plastic prep and let the model dry thoroughly. This helps to remove all oil and any other contamination, including excess glue.
  6. Put the model or model part on a paint stand or on a drop cloth.
  7. Shake the spray can thoroughly to mix paint properly.
  8. Test the nozzle by spraying a piece of cardboard, such as the inside lid of your model box.
  9. Plan on multiple thin coats rather than one thick coat.
  10. Start spraying to one side of the model, stroke over the model, and spray past the model before you stop.  Keeping the spray about 6 to 8 inches away from the project.
Extra Tips 
-Aerosol spray paints are good, but you may want to invest in an airbrush as you grow in the hobby.  
-Bright, shiny finishes can be achieved by painting the desired color, letting the model dry, spraying with a clear coat, and then finishing with a buffing compound. 
-Complete the detail work as necessary with fine-tipped artist brushes.
-Use thinners for your type of paint (acrylic thinner for acrylic paint) when brush painting.
-Paint in a ventilated area. 
-Wear a painter's mask if you are sensitive to smells. 
-Many experienced modelers suggest using primers when painting.

We hope that these tips and tricks help you create a piece you can be proud of.  Remember to have patience, take your time and if you get frustrated, walk away (after you clean up). You can always go back to it later!
Please leave a comment and remember, these ideas are not finite; there are so many things to try and experiment with.  Have FUN!


These tips are suggestions and we are not responsible for damage or accidents that occur to your project.

Lunes, Hulyo 11, 2016

Tips for Painting and intalling a canopy on your model aircraft


Have you ever felt frustrated trying to put a conopy on your aircraft?  Did it cloud up or the paint wasn't looking great on the canopy accent?
     I know how you feel! When little mistakes happen it tends to kill any creative inkling you may have felt.
It's daunting enough creating your favourite aircraft – never mind putting together a piece you can be proud to show off.
     Here's some helpful tips to help create a model to be proud of; without fancy terms, and keeping it simple.

 When you've finished this post, you'll know exactly how to create a great canopy for your next model plane.
Please make sure to comment on this blog post with your thoughts and don't forget to sign up to our Newsletter to keep up on new product, contests, sales and more!

Let's have some fun!

-Two kinds of successful mask. Liquid and tape


     Before starting, make sure you have all your supplies together. Your mask tape, hobby knife with a sharp blade (#11 works best), proper cutting surface, good lighting, hobby paint for your project and Clear parts glue

MASKING THE CANOPY FOR PAINTING
1)  make sure that all the clear airplane model parts are clean, dry and free of any fingerprints or dust. And your hands are clean and dry.
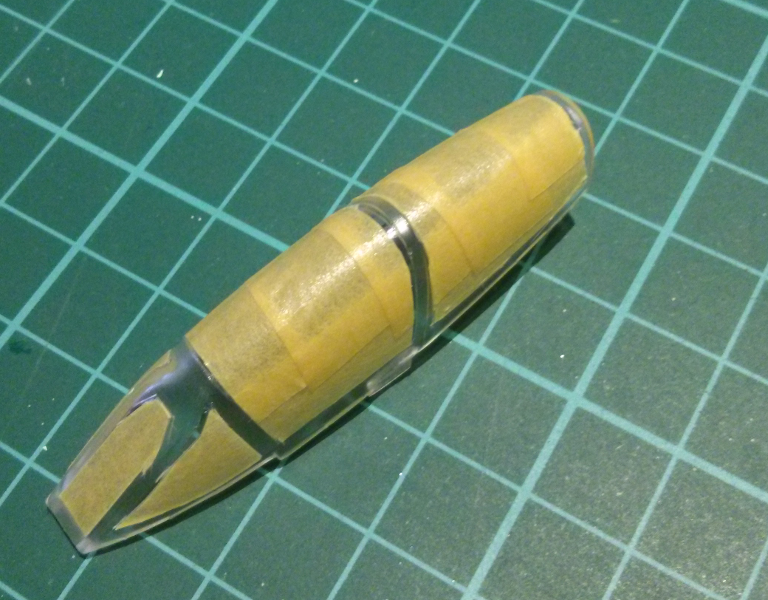
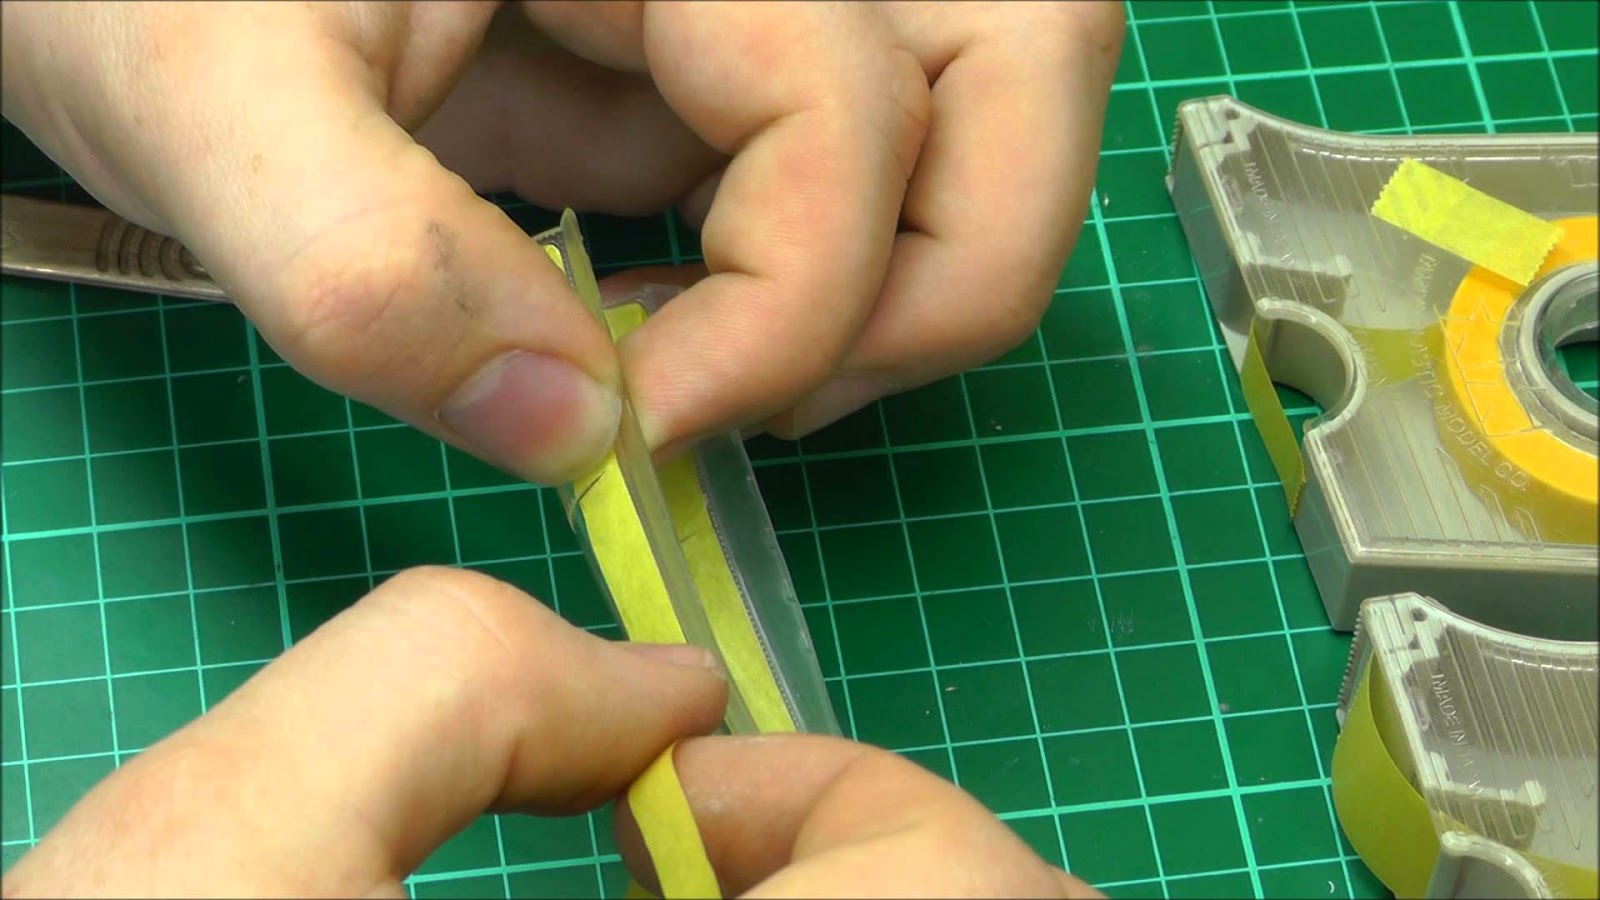
2)  Start with the 6mm Tamiya masking tape. Tear off a 4' piece and starting at the rear flat edge, carefully run the tape along the bottom outline of the
canopy.  Gently press into place.
 a short video with more tips for Masking Your Canopy


3)  Using the 6mm tape, mask alongside any raised parts (so you don't cover the part you want to paint)
4)  Bring the tape smoothly to the end of the edge and cut off excess.
Tip:  Make sure to cut past the end of your piece of canopy or you may cut into or scratch, your conaopy

5)  Either continue to mask areas you don't wish to paint with the 6mm or fill in with the wider tape such as the 18mm.
6)  Take your time when masking - it's a learning process.

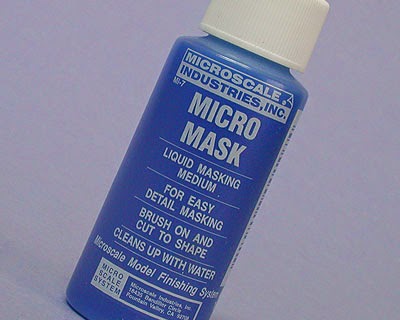
Tip: If you choose to use liquid mask, just use a fine brush to paint on the liquid mask and let it set before you paint your model (follow the directions on the
bottle).  Peel off mask after you've let the paint dry, scoring the mask along the paint line for clean edges.

TIP: It's really important to take your time, use a very sharp hobby knife and cut a clean, precise section, free of tearing. Any raised details you intend to paint,
should be the only areas visible through the mask.


PAINTING YOUR CANOPY:
     Now it's time to paint the canopy of your model aircraft.
1)  Airbrush or handpaint your first coat using the interior cockpit colour and allow some time for it to dry.
2)  paint the fuselage colour over it and allow it to dry.  Or finish the canopy of the aircraft by applying your preferred paint colours
3) finish with a final coat to seal the paint (dull, gloss, etc.) over the canopy before you remove the mask.
 4)  After all paint has dried, use your hobby knife and carefully run it along the edge of your mask and gently lift off the mask with the tip of the blade and slowly peel off the mask.

Enjoy your work!

Tip: don't use dullcote or gloss cote directly on clear areas, if you wish that part to move on your model. Spray the model and clear part separately, then attach the clear part.  Don't spray any unmasked clear parts as dullcote can cause the part to fog, so keep the mask on and spray the painted areas.

Now you're ready to glue on your canopy

USING CANOPY GLUE (clear parts glue)
- This is a glue that dries clear and doesn't cloud your clear parts

  Now your canopy is ready to install. I like to use Testors Clear Parts Glue to glue it in place. This glue goes on white but then dries clear. It's best to put a small puddle on a scrap piece of cardboard and use a tooth pick to draw a fine line of glue around the perimeter of the Canopy.


Now place it in position and use folded piece of Kleenex or paper towel to hold it in place and avoid fingerprints. Once the glue has dried, apply the rest of the glue and guide it into position if needed.

 Tip: The Testors Clear Parts glue cleans up with water before it dries so you can wipe small smudges off with a damp cloth.


```Extra Tip:  using Future floor finish. This technique will make the clear plastic appear thinner and clearer. Surprisingly, it can also hide minor scratches and blemishes that are often unavoidable when working with clear model kit parts.
      Check out how:

Now it's your turn!  Please leave a comment on what you thought of this blog post.  We would also love to see your work or works in progress!  Please email us with your photos Today!

Biyernes, Enero 8, 2016

Painting the Terrain


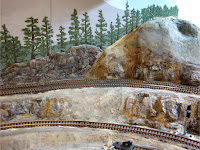
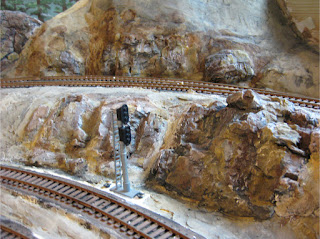
Painting hardshell terrain with tan acrylic paintPainting the terrain on my model train layout was probably the most nerve-racking experience I’ve encountered so far on this project, but at the same time, was also the most rewarding and fun. I’ve been ready to paint since I finished all the plaster and hard shell scenery back around Christmas time, but in all honesty I was absolutely horrified to paint anything in fear that I wouldn’t get the look I wanted. After 2 ½ months however, I couldn’t put this task off any longer.

Painting hardshell terrain with tan acrylic paintLike common practice, I did a lot of research to find the best way to paint terrain and rocks. I found the easiest and most common method to colour plaster rock castings was to use a series of earth-coloured acrylic paint washes using the “leopard spotting” technique, as explained on Woodland Scenic’s website.

Before I could start painting the rock castings, I needed to paint the hard shell scenery. For this I used inexpensive tan coloured acrylic paint, thinned about 50% with tap water for better coverage. Make sure to use cheap foam brushes for this step and not expensive ones, as the plaster will tear the foam up pretty fast, regardless of how much you paid for the brush.

Using the leopard print method to paint plaster rock castingsUsing the leopard print method to paint plaster rock castings

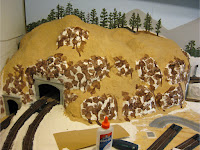
I decided early on that I wanted the colour of my rock outcroppings to be rich with lots of texture, so I opted for dark browns, yellows, and grays. I used the leopard spotting technique to paint the rock castings, using thinned washes of acrylic paint. The first colour I applied was burnt umber, literally applying it randomly just like leopard spots onto the rock castings. A narrow foam brush works best for this application.

Using the leopard print method to paint plaster rock castingsUsing the leopard print method to paint plaster rock castings

The second colour I wanted was yellow. To give the yellow more of an earth-tone, I mixed the yellow acrylic directly with my leftover burnt umber wash, and mixed it until I got the colour I wanted. I then applied this second wash in the same random manor as before, making sure to not over-apply any one colour.

Final wash of black acrylic paint over plaster terrainFinal detail of painted rock outcropping

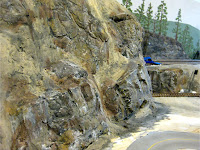
To blend everything together, I did a third and final wash of black, this time applying liberal amounts of wash over the entire surface, making sure no uncovered plaster was showing through. The black wash blends all the colours, and settles into all the nooks and cracks, highlighting the rock’s texture and profile. I made sure that I didn’t make the black wash too dark, as it would be difficult to lighten the terrain if it turned out too dark. Instead, I used light washes, applying more washes to achieve a darker look.

Plaster rock outcroppings highlighted with white paintMountain structure with final black acrylic wash

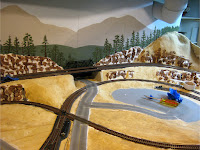
As most of the tan colour that I first applied will eventually be covered with foam ground cover, I used the same black wash in these areas as well in hopes of making the ground a little more realistic. The black wash gives the tan wash a bit more of a dark clay look, which is similar to the area of Alberta I live in. Applying the black wash also helped to blend the rock outcroppings into the rest of the terrain.

Hardshell terrain with acrylic washesFinal plaster rock castings highlighted with white paint

Plaster rock outcroppings painted with the leopard spot technique

The final step was to very lightly dry-brush the rock outcroppings with white paint. The white paint collects on the high ridges of the rocks, highlighting them and creates further contrast. At this point I’m still a little nervous how the final look will turn out, but I keep reminding myself that there is still ground cover and trees that need to be added, so the final look might be something completely different.

Huwebes, Marso 5, 2015

Basic Tips For Figure Painting


From Chinook & Hobby West

1.      Wash all plastic parts in a grease cutting soap to remove oils and release agents.
2.      Inspect, clean, trim and sand as needed.
3.      Prime with white or gray so features stand out.
4.      Plan out your colours for your project.
5.      Paint basic colours. Go from light to dark. Paint flesh & eyes, white, tan, etc.
6.      Select colour wash in dark versions of your painted piece. Brown for flesh, Navy for uniforms, black for battle worn.  Dilute paint with water or thinner at a one to one mixture.
7.      Do highlights and lowlights, as needed using dry brushing.
8.      Seal your piece by spraying with dullcote (matte finish), glosscote or preference.
9.      Glue (or place if movable) onto your diorama.

Remember


  • Take your time
  • Be patient – Mistakes can be fixed
  • HAVE FUN!!!