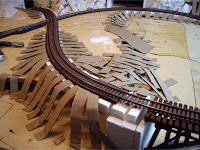
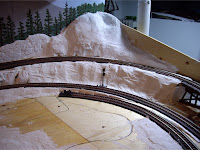
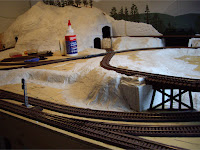
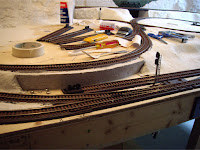
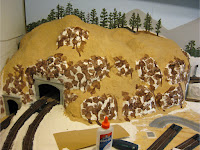
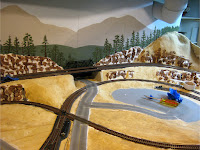
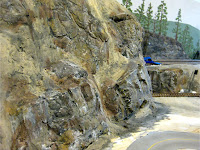
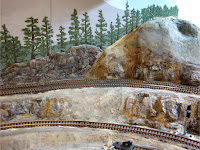
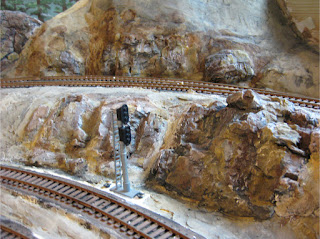
Painting the terrain on my model train layout was probably the most nerve-racking experience I’ve encountered so far on this project, but at the same time, was also the most rewarding and fun. I’ve been ready to paint since I finished all the plaster and hard shell scenery back around Christmas time, but in all honesty I was absolutely horrified to paint anything in fear that I wouldn’t get the look I wanted. After 2 ½ months however, I couldn’t put this task off any longer.
 Like common practice, I did a lot of research to find the best way to paint terrain and rocks. I found the easiest and most common method to colour plaster rock castings was to use a series of earth-coloured acrylic paint washes using the “leopard spotting” technique, as explained on Woodland Scenic’s website. Before I could start painting the rock castings, I needed to paint the hard shell scenery. For this I used inexpensive tan coloured acrylic paint, thinned about 50% with tap water for better coverage. Make sure to use cheap foam brushes for this step and not expensive ones, as the plaster will tear the foam up pretty fast, regardless of how much you paid for the brush.I decided early on that I wanted the colour of my rock outcroppings to be rich with lots of texture, so I opted for dark browns, yellows, and grays. I used the leopard spotting technique to paint the rock castings, using thinned washes of acrylic paint. The first colour I applied was burnt umber, literally applying it randomly just like leopard spots onto the rock castings. A narrow foam brush works best for this application.The second colour I wanted was yellow. To give the yellow more of an earth-tone, I mixed the yellow acrylic directly with my leftover burnt umber wash, and mixed it until I got the colour I wanted. I then applied this second wash in the same random manor as before, making sure to not over-apply any one colour.To blend everything together, I did a third and final wash of black, this time applying liberal amounts of wash over the entire surface, making sure no uncovered plaster was showing through. The black wash blends all the colours, and settles into all the nooks and cracks, highlighting the rock’s texture and profile. I made sure that I didn’t make the black wash too dark, as it would be difficult to lighten the terrain if it turned out too dark. Instead, I used light washes, applying more washes to achieve a darker look.As most of the tan colour that I first applied will eventually be covered with foam ground cover, I used the same black wash in these areas as well in hopes of making the ground a little more realistic. The black wash gives the tan wash a bit more of a dark clay look, which is similar to the area of Alberta I live in. Applying the black wash also helped to blend the rock outcroppings into the rest of the terrain.The final step was to very lightly dry-brush the rock outcroppings with white paint. The white paint collects on the high ridges of the rocks, highlighting them and creates further contrast. At this point I’m still a little nervous how the final look will turn out, but I keep reminding myself that there is still ground cover and trees that need to be added, so the final look might be something completely different.