Posted by Unknown on 5:00 PM in A, aircraft, And, canopy, For, intalling, model, ON, Painting, Tips, your | No comments
Have you ever felt frustrated trying to put a conopy on your aircraft? Did it cloud up or the paint wasn't looking great on the canopy accent?
I know how you feel! When little mistakes happen it tends to kill any creative inkling you may have felt.
It's daunting enough creating your favourite aircraft – never mind putting together a piece you can be proud to show off.
Here's some helpful tips to help create a model to be proud of; without fancy terms, and keeping it simple.
When you've finished this post, you'll know exactly how to create a great canopy for your next model plane.
Please make sure to comment on this blog post with your thoughts and don't forget to sign up to our Newsletter to keep up on new product, contests, sales and more!
Let's have some fun!
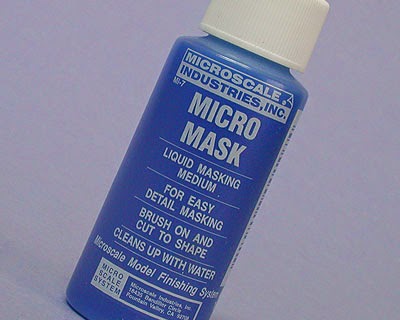
-Two kinds of successful mask. Liquid and tape


Before starting, make sure you have all your supplies together. Your mask tape, hobby knife with a sharp blade (#11 works best), proper cutting surface, good lighting, hobby paint for your project and Clear parts glue
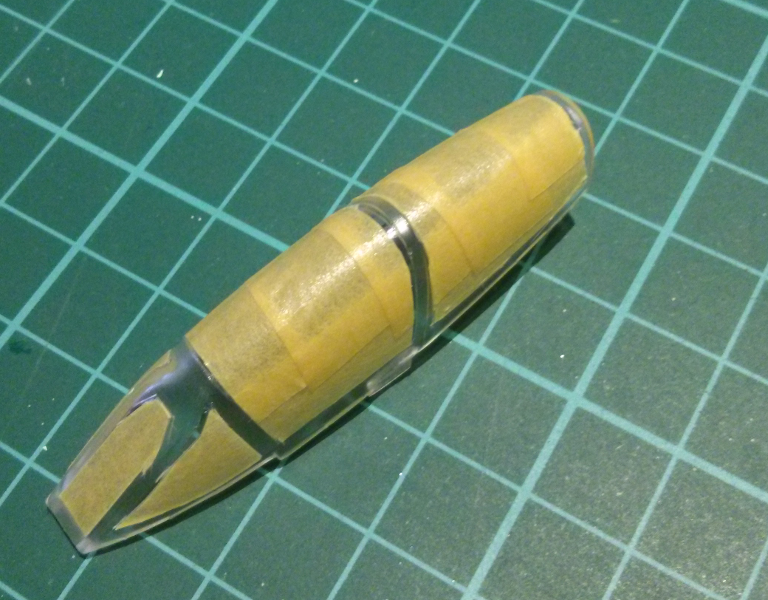
MASKING THE CANOPY FOR PAINTING
1) make sure that all the clear airplane model parts are clean, dry and free of any fingerprints or dust. And your hands are clean and dry.
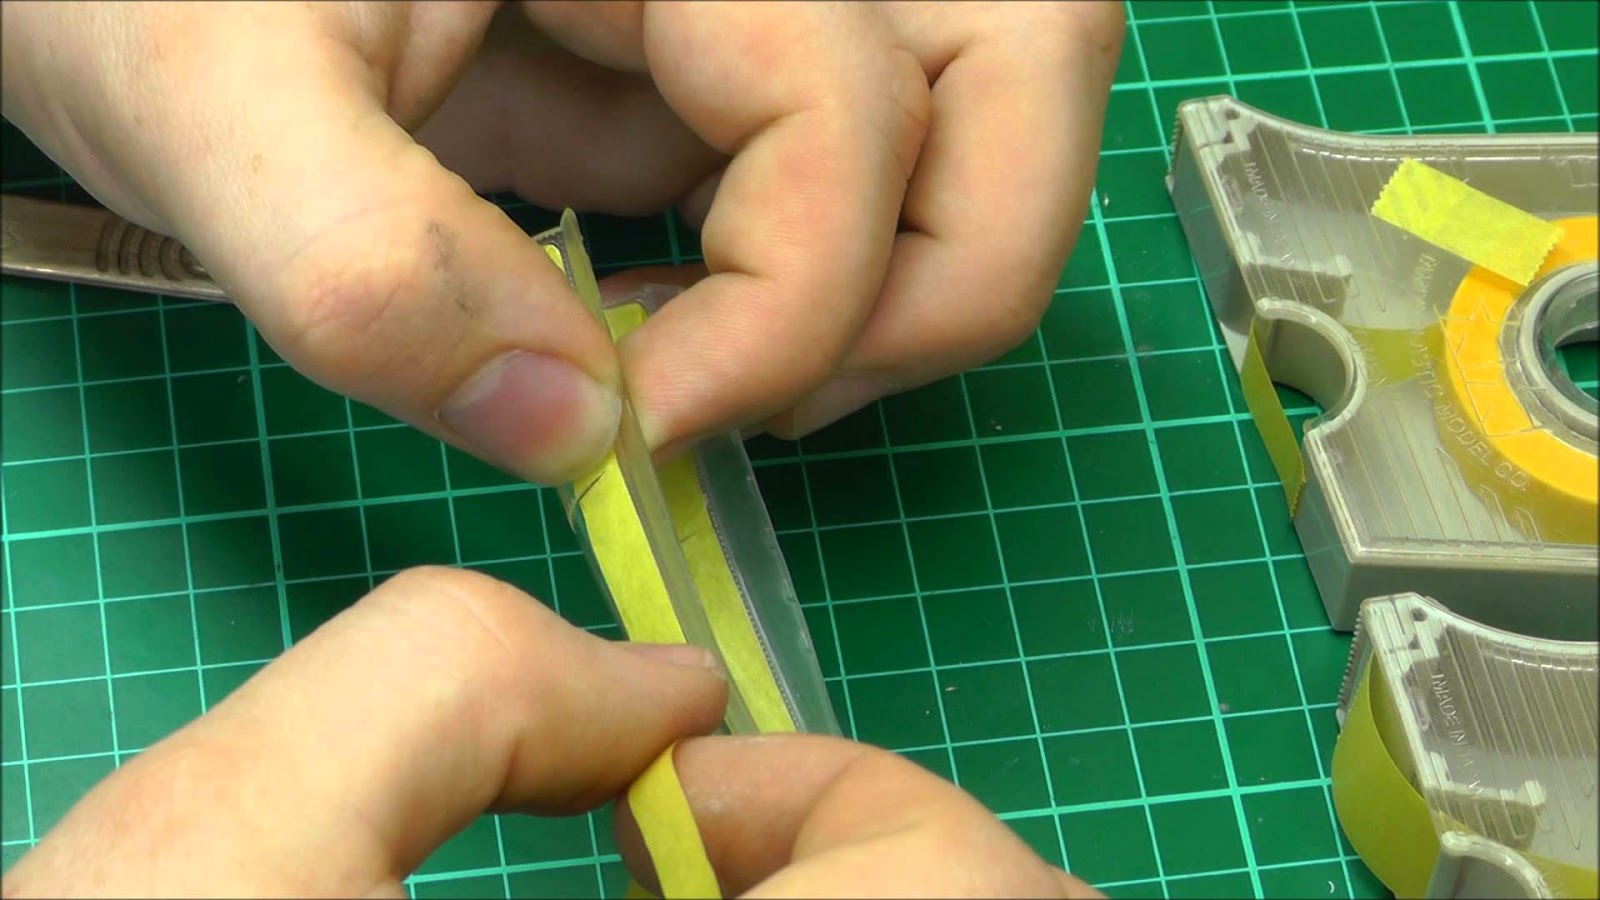
2) Start with the 6mm Tamiya masking tape. Tear off a 4' piece and starting at the rear flat edge, carefully run the tape along the bottom outline of the
canopy. Gently press into place.

3) Using the 6mm tape, mask alongside any raised parts (so you don't cover the part you want to paint)
4) Bring the tape smoothly to the end of the edge and cut off excess.
Tip: Make sure to cut past the end of your piece of canopy or you may cut into or scratch, your conaopy
5) Either continue to mask areas you don't wish to paint with the 6mm or fill in with the wider tape such as the 18mm.
6) Take your time when masking - it's a learning process.
Tip: If you choose to use liquid mask, just use a fine brush to paint on the liquid mask and let it set before you paint your model (follow the directions on the
bottle). Peel off mask after you've let the paint dry, scoring the mask along the paint line for clean edges.
TIP: It's really important to take your time, use a very sharp hobby knife and cut a clean, precise section, free of tearing. Any raised details you intend to paint,
should be the only areas visible through the mask.

PAINTING YOUR CANOPY:
Now it's time to paint the canopy of your model aircraft.
1) Airbrush or handpaint your first coat using the interior cockpit colour and allow some time for it to dry.
2) paint the fuselage colour over it and allow it to dry. Or finish the canopy of the aircraft by applying your preferred paint colours
3) finish with a final coat to seal the paint (dull, gloss, etc.) over the canopy before you remove the mask.
4) After all paint has dried, use your hobby knife and carefully run it along the edge of your mask and gently lift off the mask with the tip of the blade and slowly peel off the mask.
Enjoy your work!
Tip: don't use dullcote or gloss cote directly on clear areas, if you wish that part to move on your model. Spray the model and clear part separately, then attach the clear part. Don't spray any unmasked clear parts as dullcote can cause the part to fog, so keep the mask on and spray the painted areas.
Now you're ready to glue on your canopy
USING CANOPY GLUE (clear parts glue)
- This is a glue that dries clear and doesn't cloud your clear parts
Now your canopy is ready to install. I like to use Testors Clear Parts Glue to glue it in place. This glue goes on white but then dries clear. It's best to put a small puddle on a scrap piece of cardboard and use a tooth pick to draw a fine line of glue around the perimeter of the Canopy.

Now place it in position and use folded piece of Kleenex or paper towel to hold it in place and avoid fingerprints. Once the glue has dried, apply the rest of the glue and guide it into position if needed.
Tip: The Testors Clear Parts glue cleans up with water before it dries so you can wipe small smudges off with a damp cloth.
```Extra Tip: using Future floor finish. This technique will make the clear plastic appear thinner and clearer. Surprisingly, it can also hide minor scratches and blemishes that are often unavoidable when working with clear model kit parts.
Check out how:
Now it's your turn! Please leave a comment on what you thought of this blog post. We would also love to see your work or works in progress! Please email us with your photos Today!


0 (mga) komento:
Mag-post ng isang Komento